
Transform your small space with garden hanging bags! These versatile pockets provide an excellent solution for gardens in limited areas. Vertical wall pockets work by allowing plants to grow upward instead of outward, making them ideal for small balconies and patios. You can grow a variety of plants in these bags, including herbs, flowers, and vegetables. Consider factors such as sunlight and water requirements when choosing plants. Installing the bags is easy, and once in place, you’ll want to water and fertilize regularly, ensuring healthy growth. Besides gardening, you can also incorporate hanging bags into your home decor as a decorative feature. Hanging bags not only improve air quality but also help reduce stress levels, making them a must-have for any garden enthusiast!

Introduction: Transforming Small Spaces with Garden Hanging Bags
Body:
Section 1: Benefits of using garden hanging bags for small spaces
– Maximizing space utilization for small gardens, balconies, and patios
– Easy maintenance and accessibility
– Eliminating the need for traditional planters and pots
– Cost-effective and eco-friendly option
Section 2: How vertical wall pockets work
– Explanation of the design and structure of garden hanging bags
– Materials used in making garden hanging bags
– Suitable plants for vertical gardening
Section 3: Vertical Gardening – A unique way to transform small spaces
– Ideas on how to incorporate garden hanging bags into your home decor
– Creative ways to utilize garden hanging bags as part of a vertical garden
– Tips for maintaining a healthy garden in hanging bags
– Recap of the benefits of using garden hanging bags for small spaces
– Final thoughts on how garden hanging bags can be a game-changer to transform small spaces into beautiful gardens.
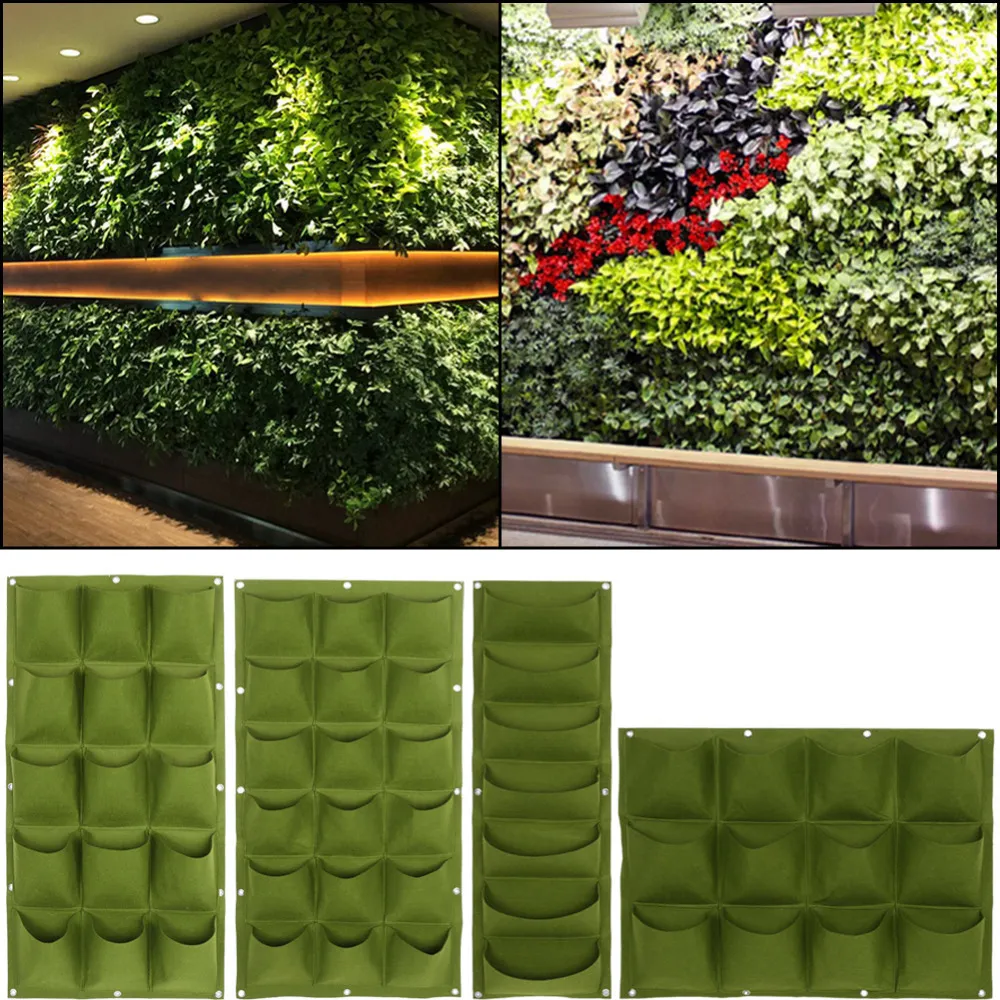
Garden hanging bags are an excellent solution to maximizing small spaces. With their innovative design, they allow you to grow plants vertically, making them perfect for people living in apartments, small homes, or even those with limited outdoor space.
Using garden hanging bags has several advantages. Firstly, they help maximize space utilization by allowing you to grow more plants than traditional pots or planters. Secondly, garden hanging bags are highly accessible, making it easy to water and maintain your plants. Additionally, they eliminate the need for traditional planters, which can take up unnecessary space. Lastly, garden hanging bags are a cost-effective alternative to traditional planters and are also eco-friendly.
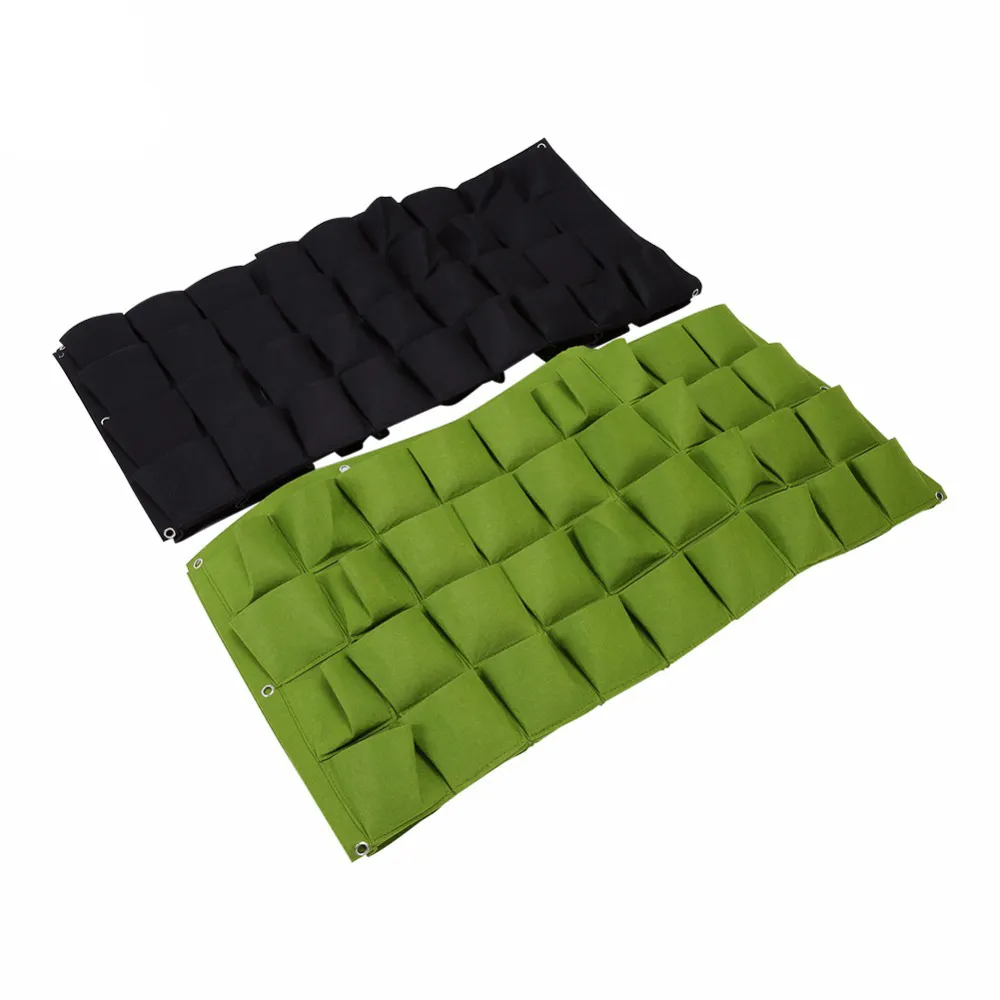
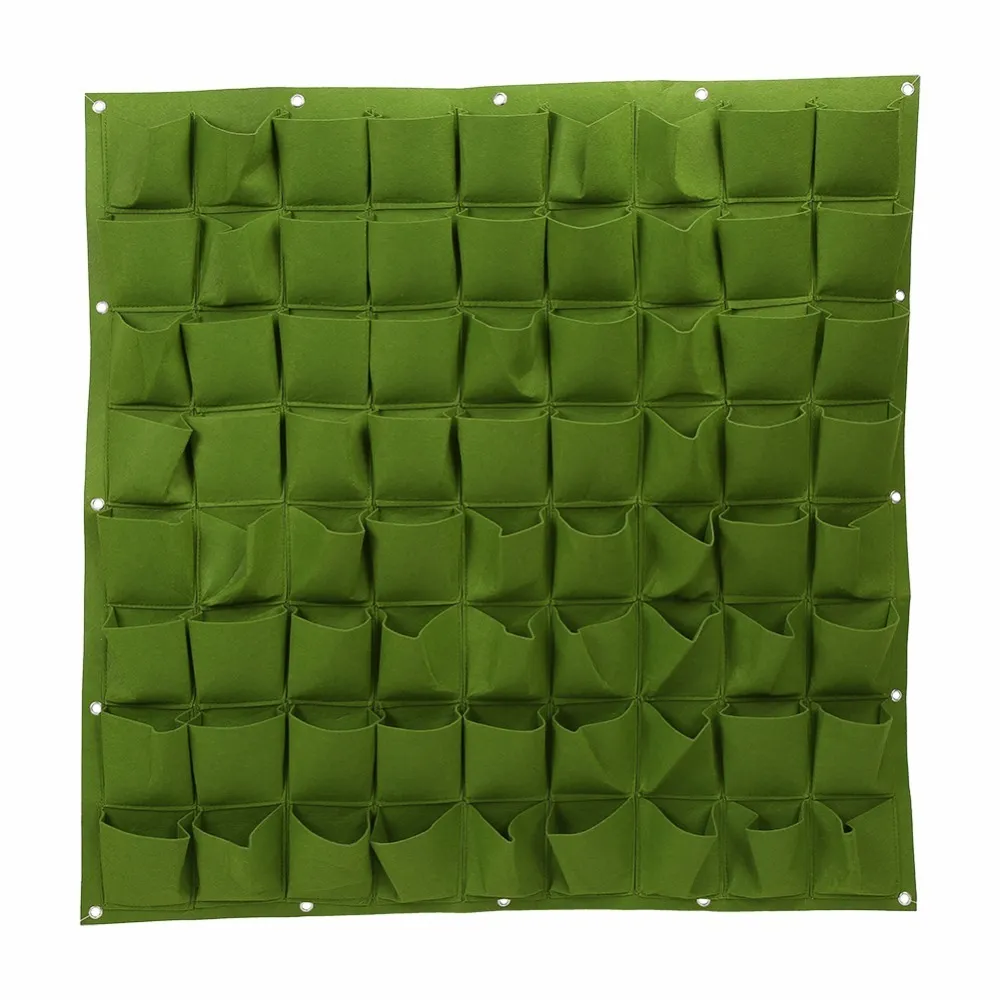
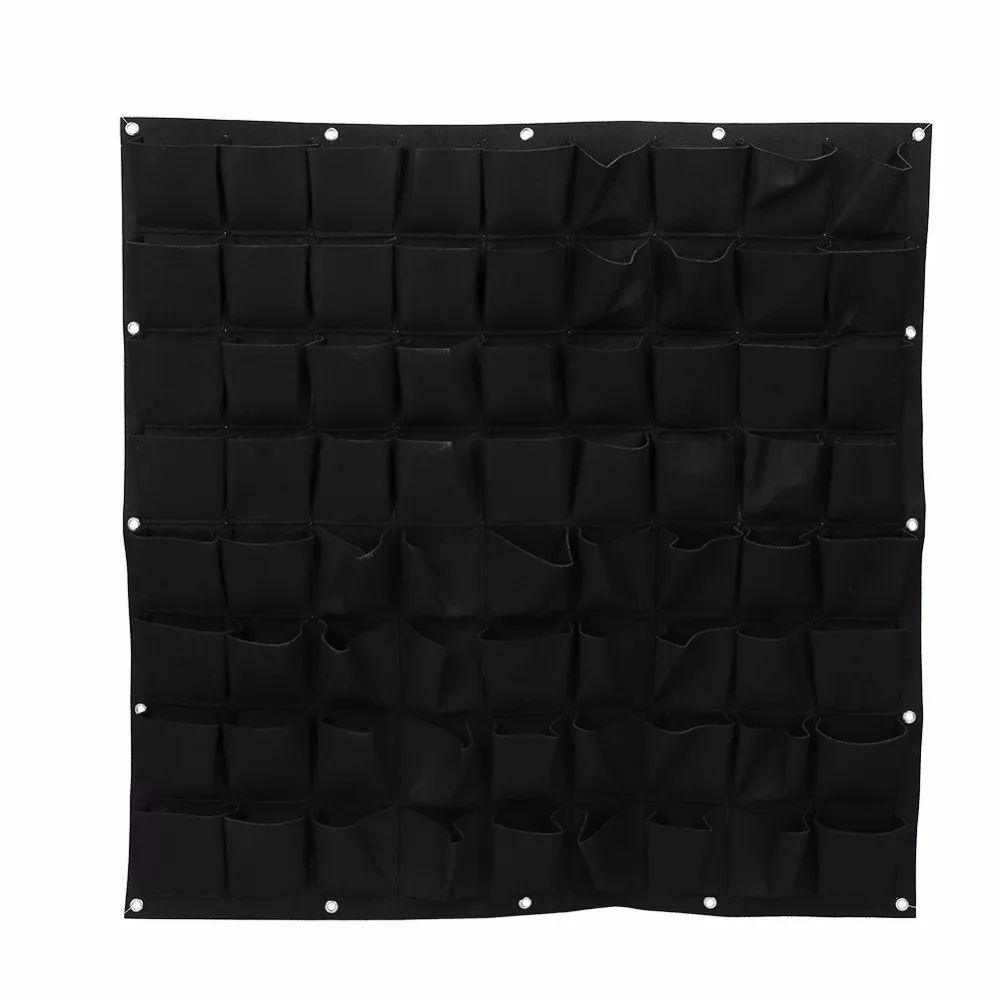
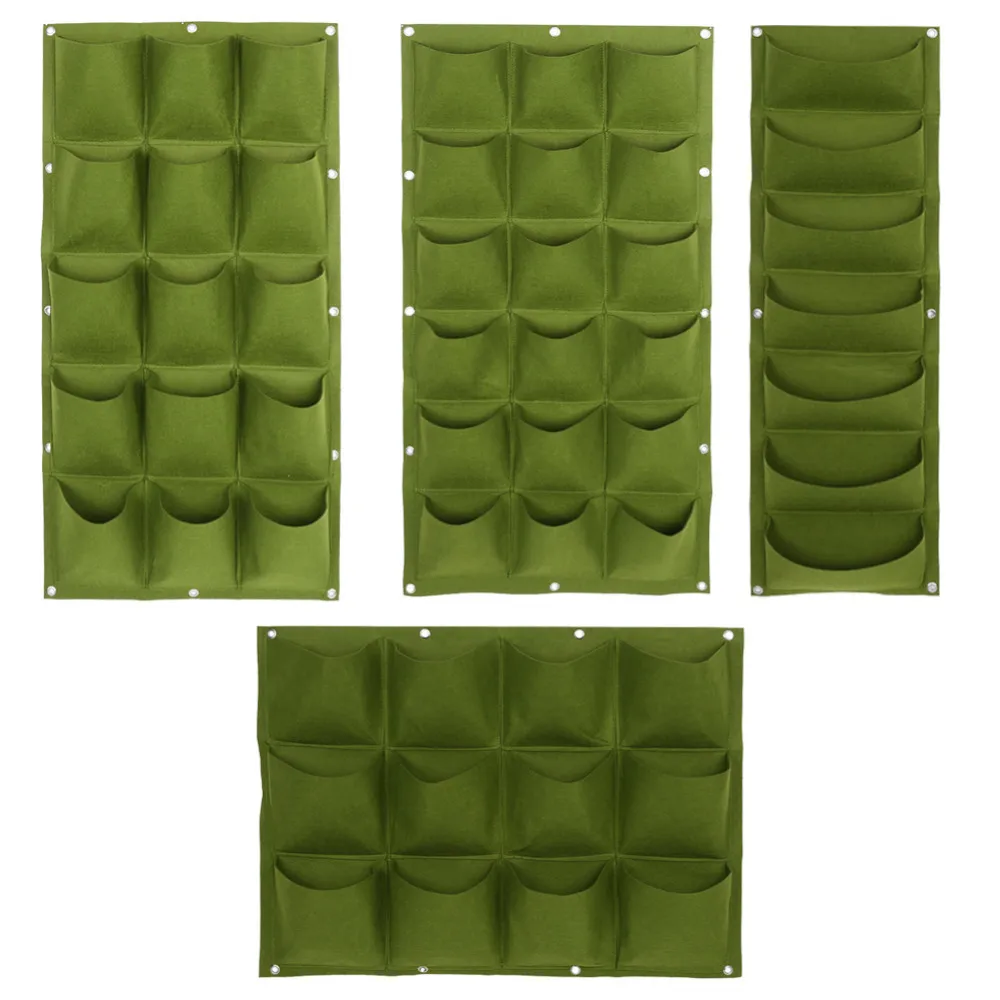
Vertical wall pockets, also known as garden hanging bags, have a unique design that allows them to be mounted on walls, fences, and railings. These pockets are made of durable materials such as felt and fabric that ensure they last for a long time. Also, they come in different sizes and shapes to cater to different plant species.
When setting up a vertical garden with garden hanging bags, it is important to select plants that are suitable for vertical gardening. They should have shallow roots and adapt well to the conditions offered by the garden hanging bags. Some examples of plants include herbs, succulents, and flowering plants.
One benefit of vertical gardening is that it allows you to incorporate garden hanging bags into your home decor. For instance, you can hang the bags in a row to create a green wall or mount them above your balcony railing to create a lush curtain effect. The possibilities are endless!
Types of Plants to Grow in Garden Hanging Bags
When selecting plants for your garden hanging bags, it is important to consider the amount of sunlight and shade that they require. Some plants prefer full sun exposure, while others do well in shaded areas. For example, petunias and geraniums are flowering plants that do well in direct sunlight, while ferns and ivy thrive in shaded areas.
Another factor to consider when selecting plants for your garden hanging bag is their size and growth habits. Plants that grow tall or have extensive root systems may not be suitable for hanging bags, as they may become too heavy and difficult to manage. Instead, choose plants that are compact and lightweight, such as herbs, cherry tomatoes, or strawberries.
Once you have selected the right type of plants for your garden hanging bag, it is important to choose the right type of bag as well. Look for bags that are made of breathable materials such as fabric or felt, as these allow for proper air circulation and drainage. Avoid plastic bags or containers as they can trap moisture and cause root rot.
To ensure that your plants thrive in their hanging bags, it is important to water them regularly and fertilize them as needed. Always follow the instructions on the fertilizer package, as over-fertilizing can harm your plants. Additionally, be sure to check the soil moisture regularly and adjust watering accordingly.
How to Install and Use Garden Hanging Bags
Gardening is a fulfilling hobby that has surged in popularity over the years, especially with the rise of indoor and container gardening. For people who love plants but have limited space, garden hanging bags offer an excellent solution. These versatile bags can be hung on walls, balconies, or even fences, making them perfect for those without access to traditional garden beds.
If you’re new to gardening or just getting started with garden hanging bags, it’s essential to know how to install and maintain them properly. In this article, we’ll take you through a step-by-step guide on installing garden hanging bags, as well as tips for proper watering, fertilizing, and maintenance of plants grown in these bags.
Step-by-Step Guide to Installing Garden Hanging Bags
The first step in installing garden hanging bags is to choose the right location. You want to find a spot that gets enough sunlight for your plants to thrive. Once you’ve found the perfect spot, follow these steps:
1. Choose Your Bag: There are different types of garden hanging bags available, including fabric, plastic, and felt. Pick one based on your preference, budget, and the type of plants you plan to grow.
2. Prepare the Bag: Before filling the bag with soil, make sure to create drainage holes at the bottom to prevent waterlogging. You can use a pair of scissors or a knife to make the holes.
3. Add Soil: Fill the bag with potting soil and leave about an inch or two from the top to allow for watering.
4. Choose Your Plants: Select plants that will thrive in the conditions provided by your chosen location. Consider factors such as sunlight, humidity levels, and available space. You can also mix and match different plant varieties to create an attractive display.
5. Hang the Bag: Finally, hang the bag securely on a wall or fence using hooks or brackets. Make sure to check that the bag is secure and level before adding plants.
Tips for Proper Watering, Fertilizing, and Maintenance of Garden Hanging Bags
Once you’ve installed your garden hanging bags, it’s important to care for your plants properly to ensure they thrive. Here are some tips for watering, fertilizing, and maintaining your garden hanging bags:
Watering: Because garden hanging bags have limited soil capacity, they dry out much faster than traditional pots or garden beds. It’s crucial to monitor the soil moisture level and water regularly – generally every 1-2 days – to prevent dehydration. However, be careful not to overwater, as this can lead to root rot.
Fertilizing: Since garden hanging bags have a smaller soil volume, regular fertilization is essential for plant growth and health. You can use organic or chemical fertilizers, depending on your preference and the plants’ needs. Follow the manufacturer’s instructions carefully when applying fertilizer.
Maintenance: Regular maintenance of your garden hanging bags ensures healthy plants and prevents pests and diseases. Pruning, deadheading, and removing diseased or damaged leaves are essential tasks. You should also keep an eye out for pests and diseases and treat them promptly.
Creative Ways to Incorporate Garden Hanging Bags in Home Decor
The balcony is an ideal location for garden hanging bags, as it provides the perfect opportunity to combine aesthetics with functionality. A well-placed hanging bag can enhance the visual appeal of your balcony and provide a relaxing atmosphere to unwind after a long day. To achieve this, consider using plants with vibrant colors such as Petunias or Geraniums. Alternatively, you can use herbs such as Basil or Mint for a practical twist that will also add aroma to your balcony. Hanging bags can be attached to railings, walls, or even suspended from the ceiling.
Kitchens are another area where garden hanging bags can be used to great effect. They offer a convenient way to grow herbs and spices, making them easily accessible when cooking. You can easily hang them on a wall near your stove or on a kitchen window, where they will receive ample sunlight. Herbs such as Rosemary, Thyme, and Sage are perfect for kitchen hanging bags as they are easy to maintain, versatile in their use, and require minimal space.
Living rooms also present an opportunity to incorporate garden hanging bags into your home decor. They can be used to add an element of nature to your space, creating a peaceful and calming environment. Hanging bags with trailing plants such as String of Pearls or trailing Pothos are great options for this purpose. You can also use flowering plants such as Orchids or African Violets to add color and vibrancy to your living room decor.
When using garden hanging bags as a decorative feature in your home, there are several suggestions to keep in mind. Firstly, choose plants that will thrive in the location where you plan to hang them. This will ensure that your hanging bags remain healthy and vibrant. Secondly, ensure that your hanging bags are securely fastened to avoid any accidents. Lastly, always consider the aesthetic appeal of your hanging bags and how they will fit within your existing decor.
Benefits of Using Garden Hanging Bags for Your Home and Garden
Overview of the Advantages of Using Hanging Bags for Gardening in Small Spaces
Garden hanging bags are a popular option for people who have limited space to grow plants. They are designed to hang from walls, balconies or fences, which makes them perfect for small apartments, patios, or urban gardens. One of the main advantages of using hanging bags is that they allow you to maximize your growing space. You can easily grow herbs, vegetables, and flowers even if you don’t have a lot of outdoor space. Additionally, hanging bags are very easy to move around, which means you can switch up their location depending on the season or sunlight availability.
Explanation of How Hanging Bags Can Help Improve Air Quality and Reduce Stress Levels
Another important benefit of using garden hanging bags is that they can help improve air quality and reduce stress levels. Plants are known to purify the air by absorbing toxins and releasing oxygen. This means that having plants in your living space can help you breathe easier and feel more relaxed. Moreover, gardening has been proven to have a calming effect on the mind. It can help reduce stress levels and promote mental well-being. By installing garden hanging bags in your home, you can create a peaceful and healthy environment for yourself and your family.
Conclusion: Transform Your Small Space with Garden Hanging Bags
In conclusion, garden hanging bags are an excellent option for people who want to garden in small spaces. They offer a lot of advantages, including maximizing growing space, easy mobility, improving air quality, and reducing stress levels. With a little bit of creativity and care, you can grow a wide variety of plants in these bags, such as fruits, vegetables, herbs, and flowers. So why not give it a try? Transform your small space with garden hanging bags and enjoy the many benefits they have to offer!
FAQ
Q1. What types of plants are suitable for growing in garden hanging bags?
Answer: Garden hanging bags are versatile planters that can accommodate a wide range of plants, including small herbs, flowering plants, succulents, and even vegetables like lettuce and tomatoes. However, it is important to choose plants that do not have extensive root systems or grow too tall, as these may not fit well in the limited space of the bag.
Q2. How do you install garden hanging bags on a vertical wall or fence?
Answer: Installing garden hanging bags is easy and requires minimal tools. Most bags come with built-in grommets or hooks that allow them to be hung securely on a wall or fence. Simply position the bag where you want it, insert screws or nails through the grommets/hooks into the wall/fence, and ensure that the bag is level. Alternatively, you can use specialized mounting hardware or brackets for added stability.
Q3. Can garden hanging bags be used indoors as well as outdoors?
Answer: Yes, garden hanging bags are suitable for both indoor and outdoor use. They are particularly useful in areas where space is limited, such as apartments, balconies, and small gardens. When using them indoors, it is important to choose plants that thrive in low-light conditions, as they may not receive as much sunlight as outdoor plants. Additionally, be careful not to overwater indoor plants, as excess water may drip onto floors or furniture.
Q4. How do you maintain plants grown in garden hanging bags?
Answer: Maintaining plants grown in garden hanging bags is relatively simple. Regular watering is essential, as the bags may dry out more quickly than traditional planters. It is also important to fertilize plants periodically with a balanced fertilizer to promote healthy growth. Depending on the type of plant, pruning or deadheading may be necessary to keep them looking neat and tidy. Finally, be sure to check garden hanging bags regularly for pests or diseases, and take appropriate measures to control them if necessary.